Quick Start Guide
Isograd Learning
Creating a New Group - Adding Courses to a Group
Step 1:
From your Dashboard, click New Group.

Step 2:
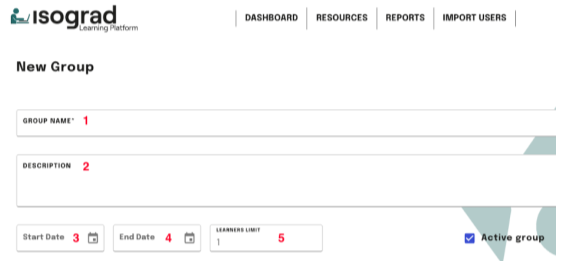
Setup the group details
1. Enter a Group Name.
2. Add a Description for your learners (optional).
3. Specify the course Start Date.
4. Specify the course End Date.
5. Indicate the Number of Learners. Tip: This represents the group's maximum capacity. We recommend adding a few extra seats to allow flexibility.
Step 3:
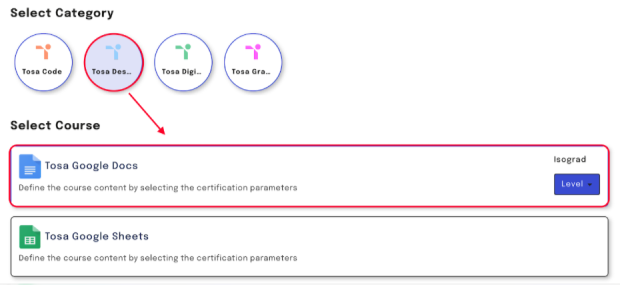
Add Courses to the Group
Scroll down until you see the Category Tabs.
Click on the category that includes your desired course.
Select on or multiple courses to add.
Step 4:
Select the Course Level(s)
Choose the appropriate levels(s).

Step 5:
Save your Group
Click the Save button.

Step 6:
Manage Course Visibility/Access
If you don't want a course to be visible yet, simply remove it from the Group.
Great job! Your leaners are can now start using Isograd Learning.
If you need additional assistance, encounter an error, or have an issue during this process, submit a support ticket to support@isograd.com. If possible or applicable, attach a screen capture depicting the issue you're experiencing.
Was this article helpful?
That’s Great!
Thank you for your feedback
Sorry! We couldn't be helpful
Thank you for your feedback
Feedback sent
We appreciate your effort and will try to fix the article